Web — Rust and Leptos
These are the steps to set up and run a simple Rust Web app that calls into a shared core.
This walk-through assumes you have already set up the
shared library and codegen as described in
Shared core and types.
There are many frameworks available for writing Web applications in Rust. Here we're choosing Leptos for this walk-through as a way to demonstrate how Crux can work with web frameworks that use fine-grained reactivity rather than the conceptual full re-rendering of React. However, a similar setup would work for other frameworks that compile to WebAssembly.
flowchart TD
    subgraph shared["shared/ (Rust crate)"]
        app_rs["`app.rs
App · Event · Effect · ViewModel`"]
    end

    shared -->|"Cargo.toml dependency (no codegen)"| shell

    subgraph shell["Rust web shell crate"]
        src_rs["uses shared types natively (no FFI or serialization needed)"]
    end

    shell -->|"trunk build → WASM"| dist["`dist/
browser-ready app`"]
Create a Leptos App
Our Leptos app is just a new Rust project, which we
can create with Cargo. For this example we'll call it
web-leptos.
cargo new web-leptos
We'll also want to add this new project to our Cargo
workspace, by editing the root Cargo.toml file.
[workspace]
members = ["shared", "web-leptos"]
Now we can cd into the web-leptos directory and
start fleshing out our project. Let's add some
dependencies to web-leptos/Cargo.toml.
[package]
name = "web-leptos"
version = "0.1.0"
authors.workspace = true
repository.workspace = true
edition.workspace = true
license.workspace = true
keywords.workspace = true
rust-version.workspace = true

[dependencies]
shared = { path = "../shared" }
leptos = { version = "0.8.19", features = ["csr"] }

[lints]
workspace = true
If using nightly Rust, you can enable the "nightly" feature for Leptos. When you do this, the signals become functions that can be called directly.
However in our examples we are using the stable
channel and so have to use the get() and update()
functions explicitly.
We'll also need a file called index.html, to serve
our app.
<!DOCTYPE html>
<html>
  <head>
    <meta charset="utf-8">
    <meta name="viewport" content="width=device-width, initial-scale=1">
    <title>Leptos Counter</title>
    <link rel="stylesheet" href="https://cdn.jsdelivr.net/npm/bulma@0.9.4/css/bulma.min.css">
  </head>
  <body></body>
</html>
Create some UI
We will use the
counter example,
which has a shared library that will work with the
following example code.
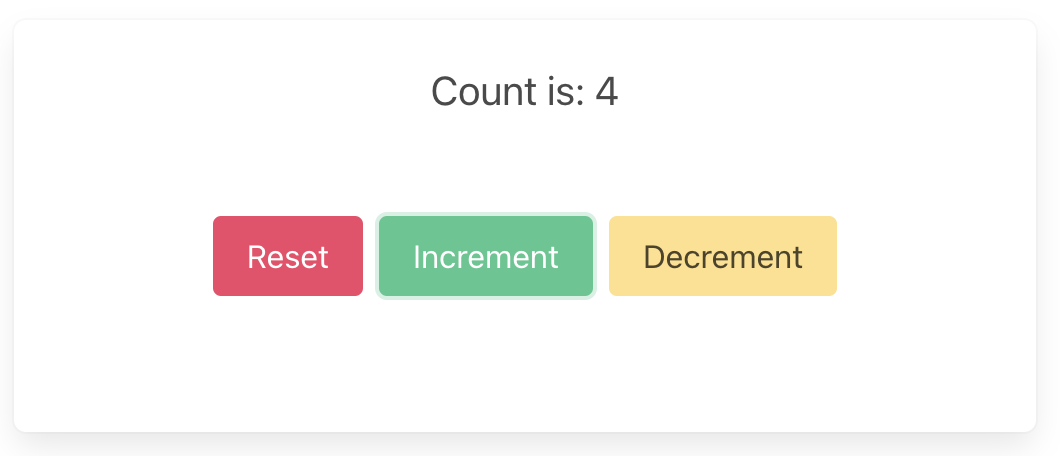
Counter example
A simple app that increments, decrements and resets a counter.
Wrap the core to handle effects
First, let's add some boilerplate code to wrap our core
and handle the effects that it produces. For this
example, we only need to support the Render effect,
which triggers a render of the UI.
This code that wraps the core only needs to be written once — it only grows when we need to support additional effects.
Edit src/core.rs to look like the following. This
code sends our (UI-generated) events to the core, and
handles any effects that the core asks for. In this
example, we aren't calling any HTTP APIs or handling
any side effects other than rendering the UI, so we
just handle this render effect by sending the new
ViewModel to the relevant Leptos signal.
Also note that because both our core and our shell are written in Rust (and run in the same memory space), we do not need to serialize and deserialize the data that we pass between them. We can just pass the data directly.
use std::rc::Rc;

use leptos::prelude::{Update as _, WriteSignal};
use shared::{Counter, Effect, Event, ViewModel};

pub type Core = Rc<shared::Core<Counter>>;

pub fn new() -> Core {
    Rc::new(shared::Core::new())
}

pub fn update(core: &Core, event: Event, render: WriteSignal<ViewModel>) {
    for effect in &core.process_event(event) {
        process_effect(core, effect, render);
    }
}

pub fn process_effect(core: &Core, effect: &Effect, render: WriteSignal<ViewModel>) {
    match effect {
        Effect::Render(_) => {
            render.update(|view| *view = core.view());
        }
    }
}That match statement, above, is where you would
handle any other effects that your core might ask for.
For example, if your core needs to make an HTTP
request, you would handle that here. To see an example
of this, take a look at the
counter example
in the Crux repository.
Edit src/main.rs to look like the following. This
code creates two signals — one to update the view
(which starts off with the core's current view), and
the other to capture events from the UI (which starts
off by sending the reset event). We also create an
effect that sends these events into the core whenever
they are raised.
mod core;

use leptos::prelude::*;
use shared::Event;

#[component]
fn RootComponent() -> impl IntoView {
    let core = core::new();
    let (view, render) = signal(core.view());
    let (event, set_event) = signal(Event::Reset);

    Effect::new(move |_| {
        core::update(&core, event.get(), render);
    });

    view! {
        <section class="box container has-text-centered m-5">
            <p class="is-size-5">{move || view.get().count}</p>
            <div class="buttons section is-centered">
                <button class="button is-primary is-danger"
                    on:click=move |_| set_event.set(Event::Reset)
                >
                    {"Reset"}
                </button>
                <button class="button is-primary is-success"
                    on:click=move |_| set_event.set(Event::Increment)
                >
                    {"Increment"}
                </button>
                <button class="button is-primary is-warning"
                    on:click=move |_| set_event.set(Event::Decrement)
                >
                    {"Decrement"}
                </button>
            </div>
        </section>
    }
}

fn main() {
    leptos::mount::mount_to_body(|| {
        view! { <RootComponent /> }
    });
}
Build and serve our app
The easiest way to compile the app to WebAssembly and
serve it in our web page is to use
trunk, which we can install
with Homebrew
(brew install trunk) or Cargo
(cargo install trunk).
We can build our app, serve it and open it in our browser, in one simple step.
trunk serve --open