The Weather App
So far, we've explained the basics on a very simple counter app. So simple in fact, that it barely demonstrated any of the key features of Crux.
Time to ditch the training wheels and dive into something real. We'll need to demonstrate a few key concepts. How the Elm architecture works at a larger scale, how we manage navigation in a multi-screen app, and the main focus will be on managed effects and capabilities. To that end, we'll need an app that does enough interesting things, while staying reasonably small.
So we're going to build a Weather app. It needs to call an API, store data and secrets locally, and use location APIs to show local weather. That's plenty of effects for us to play with and see how Crux supports this.
Here's the same app — one shared core — running on iOS, Android, macOS, and the web:
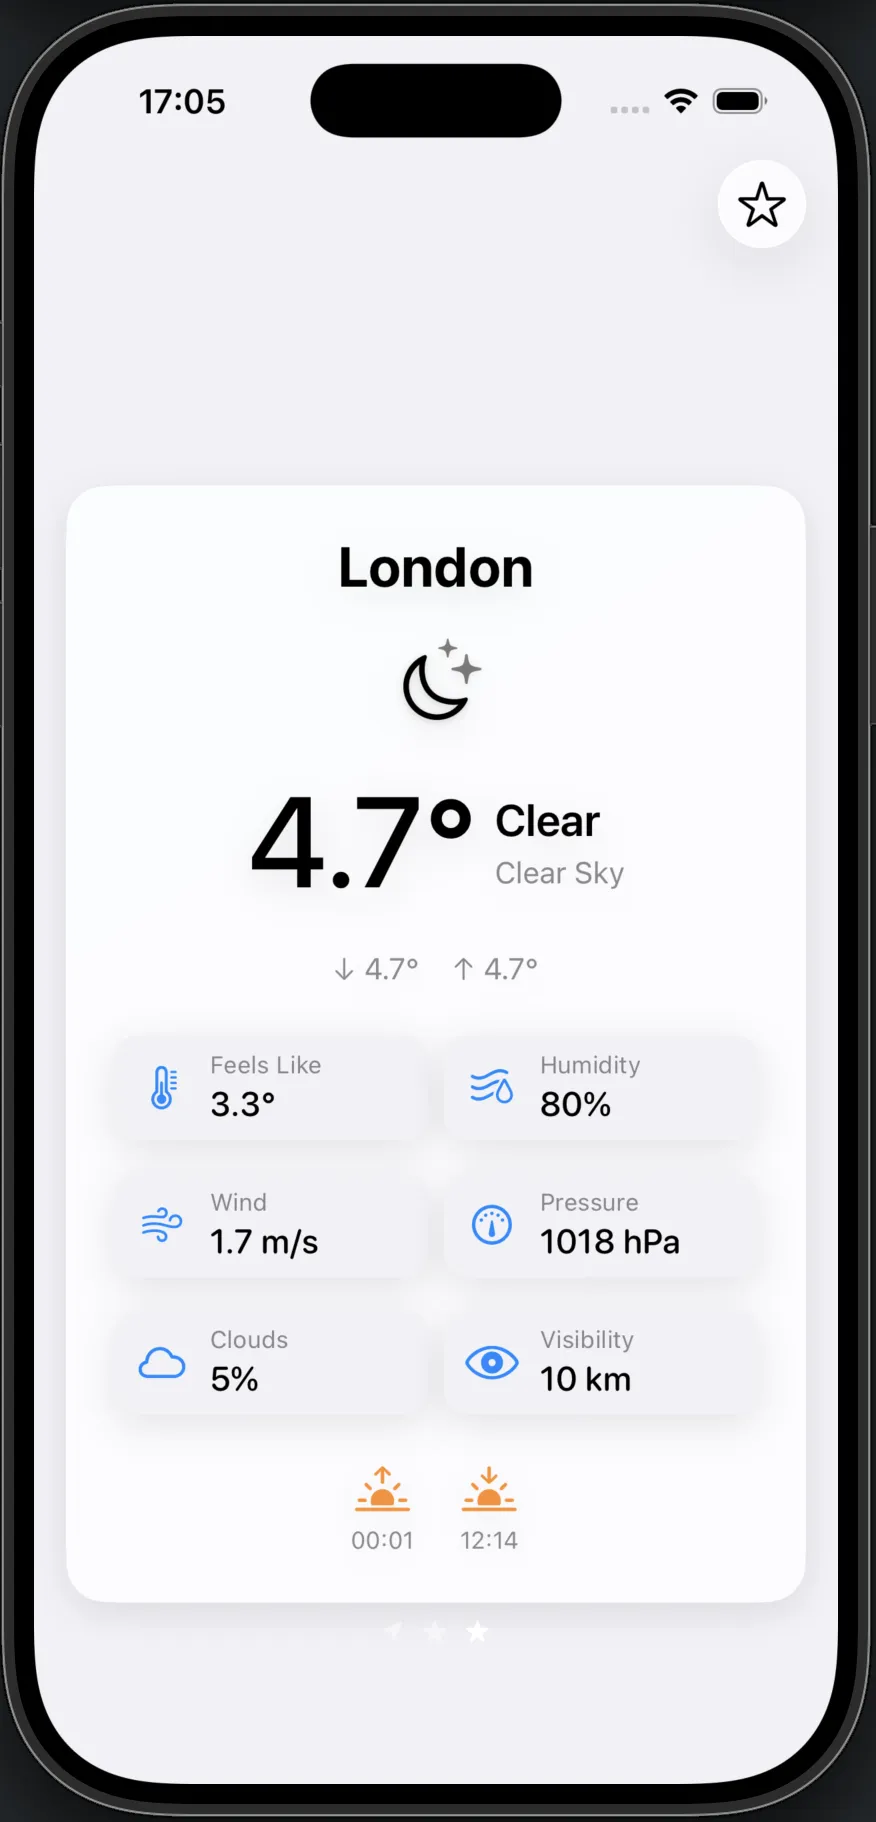
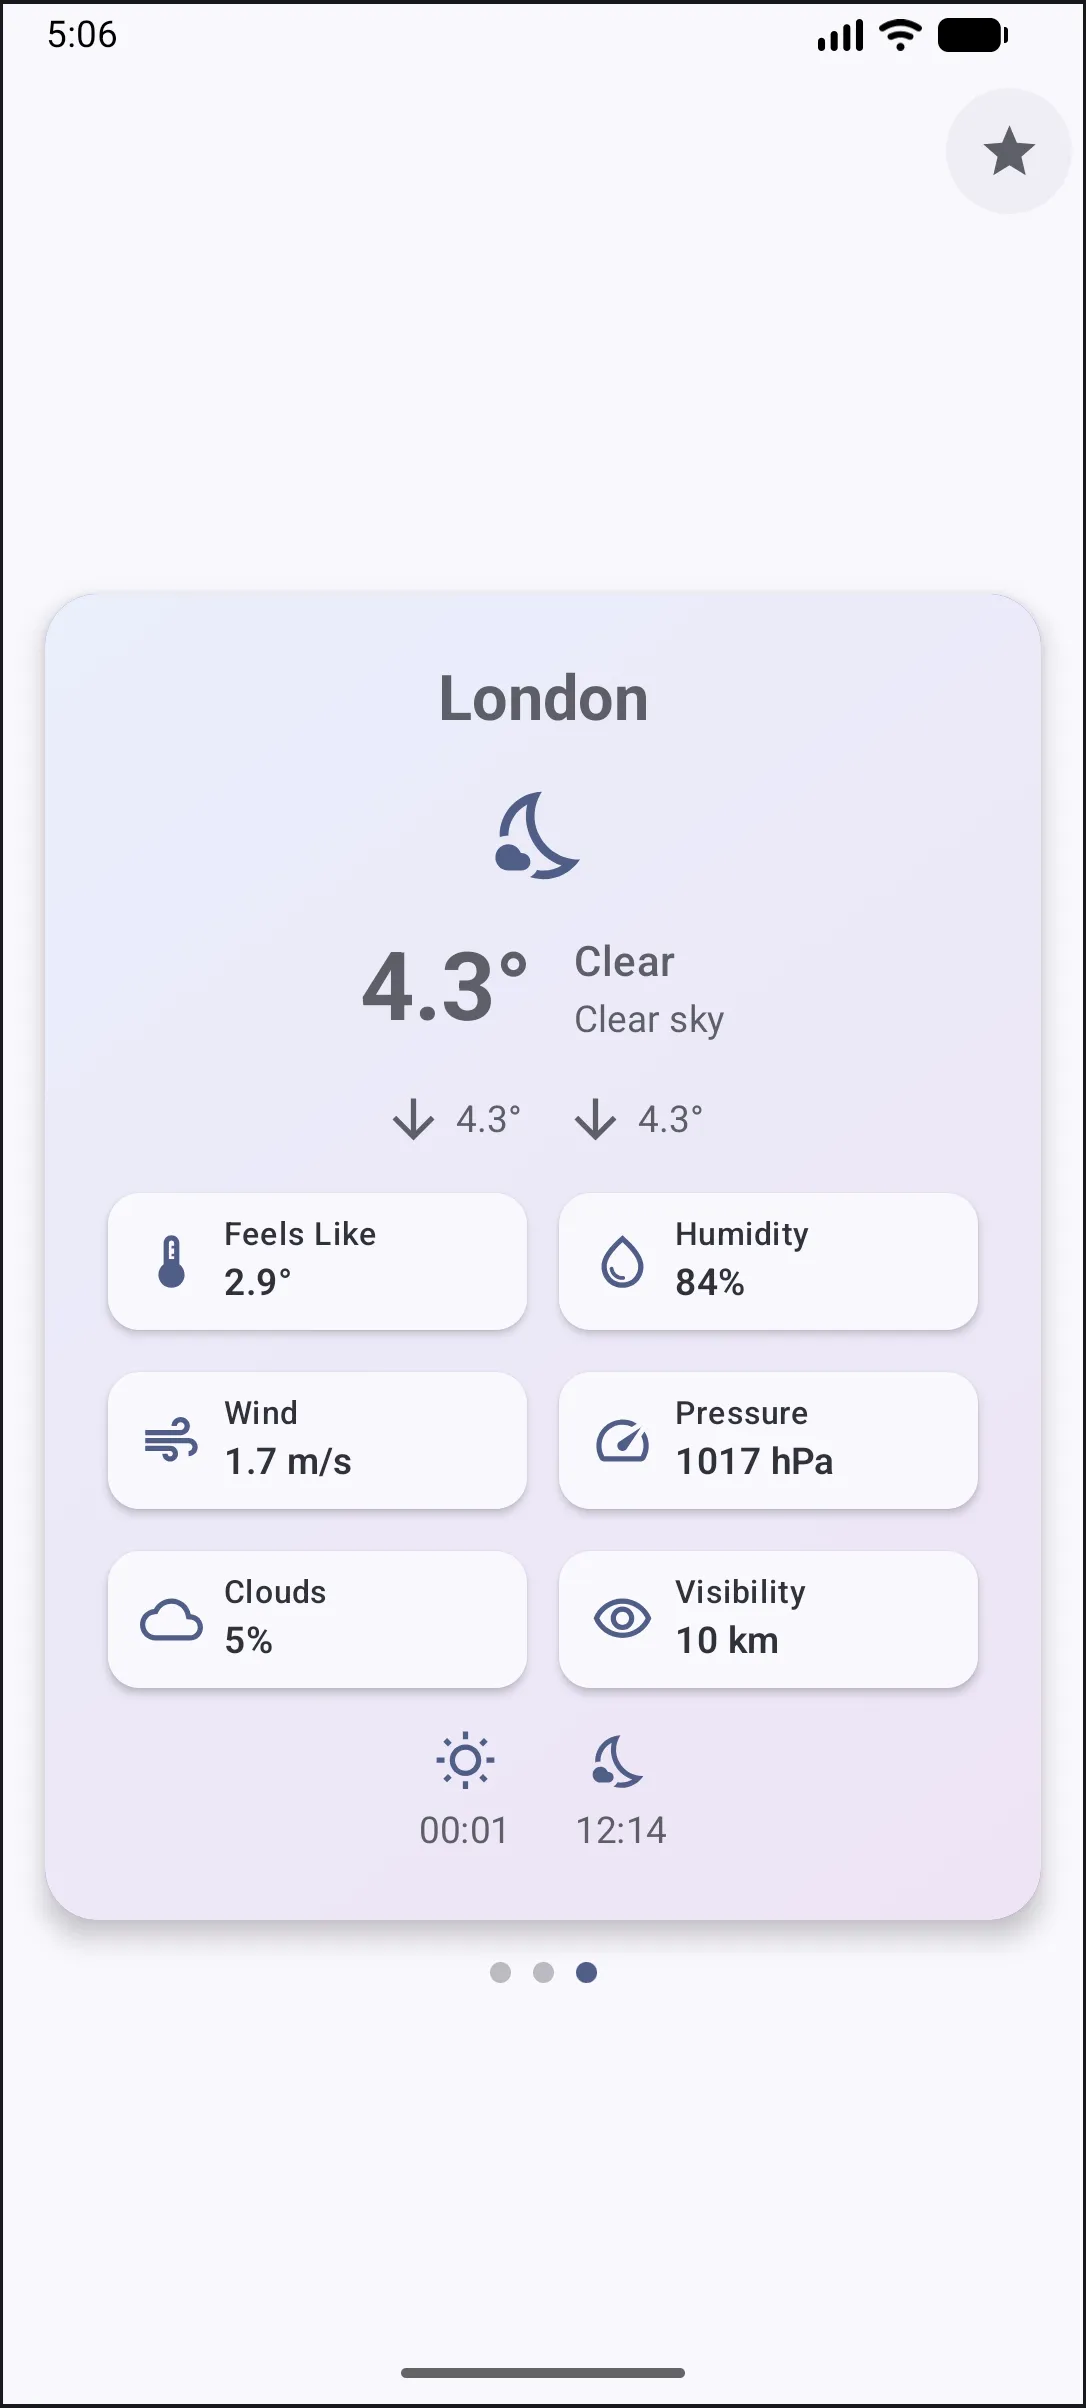
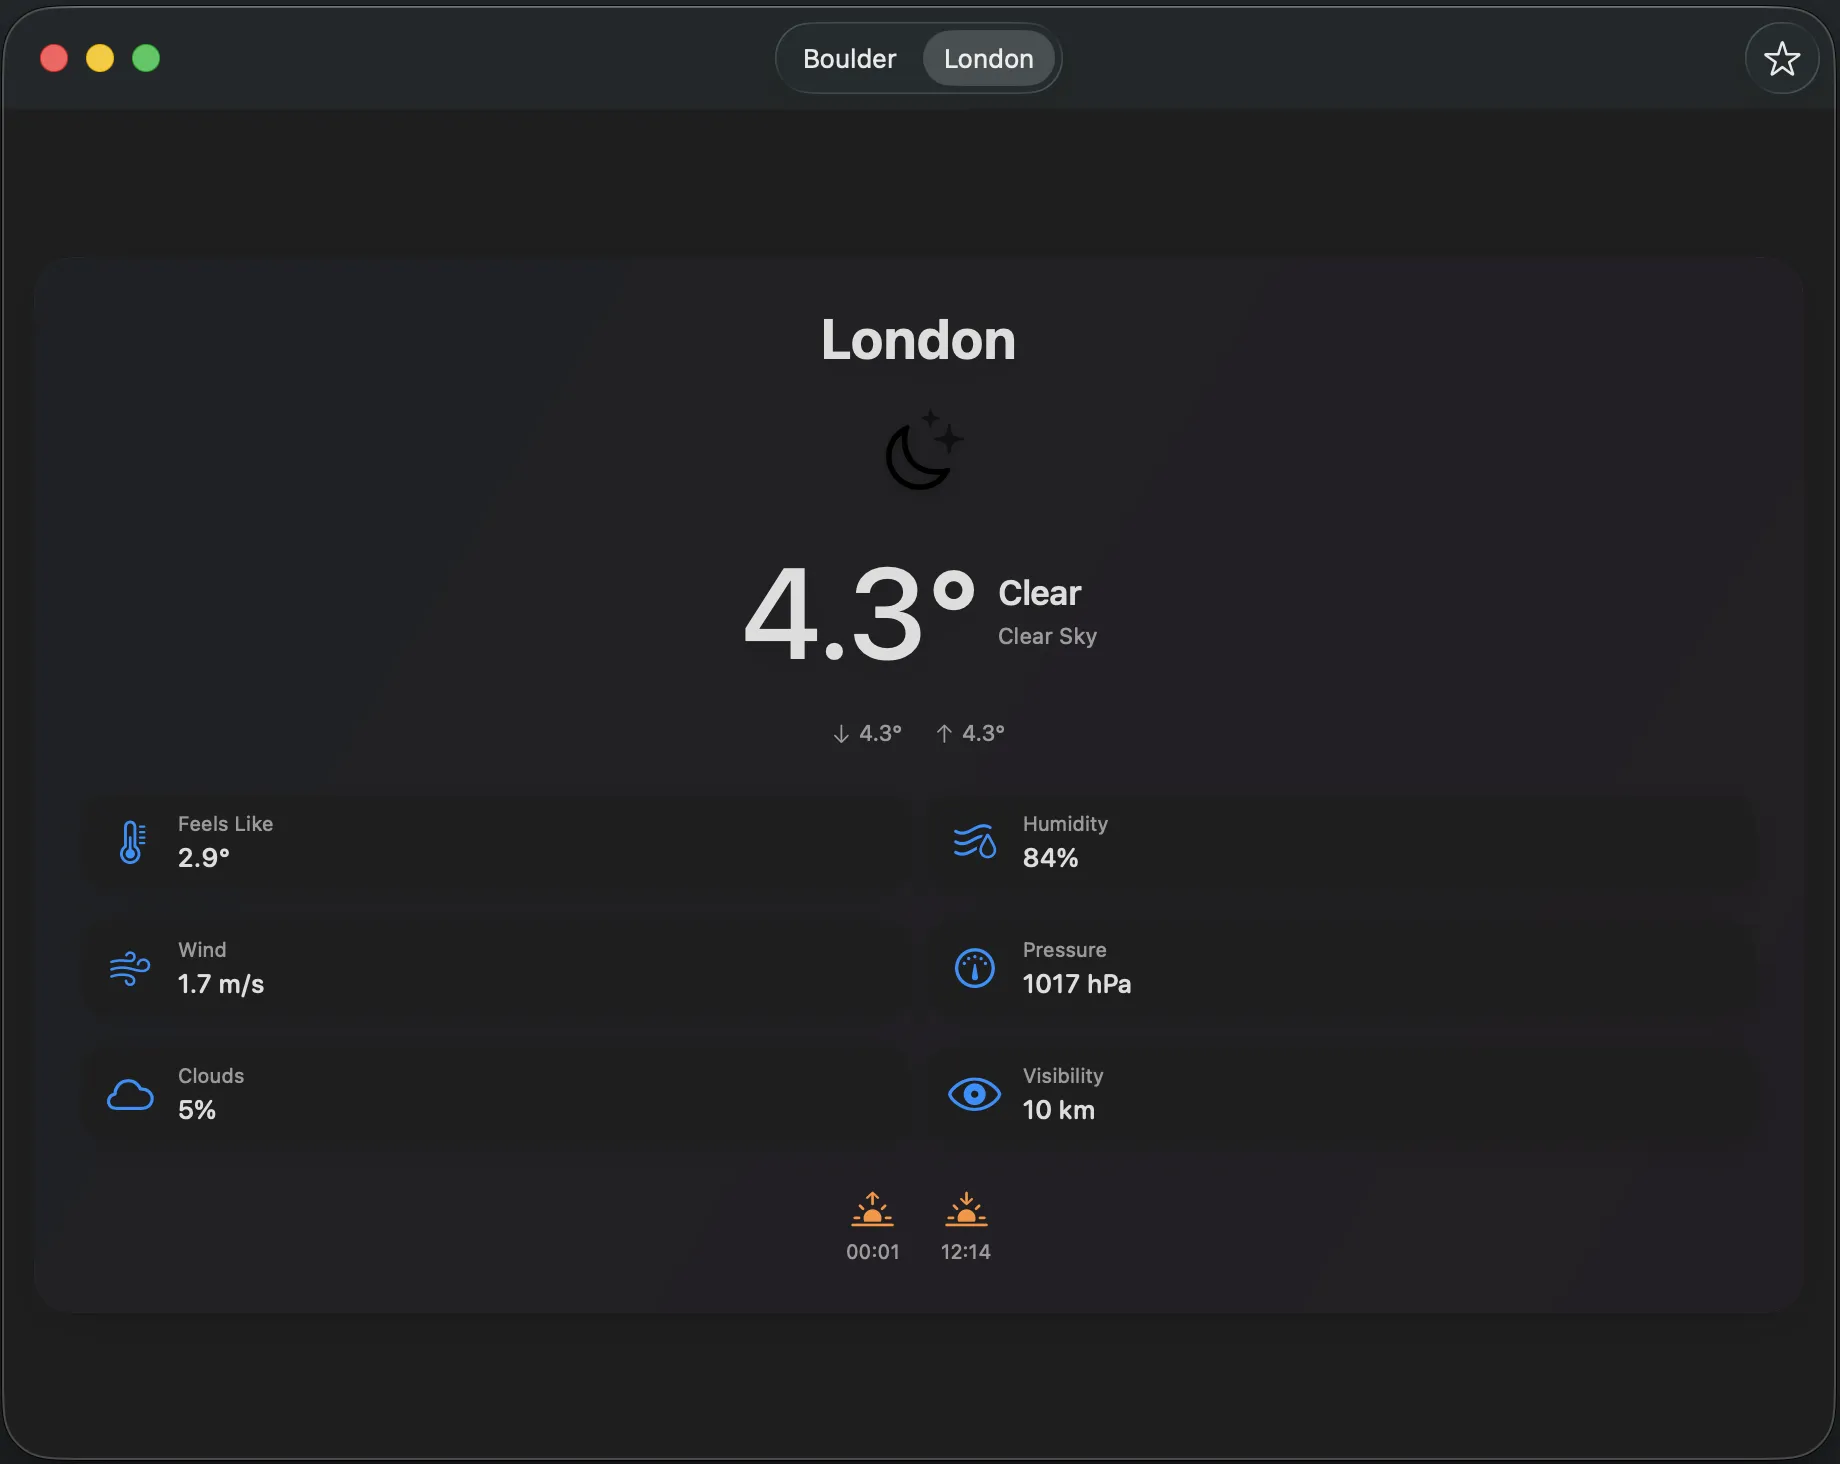
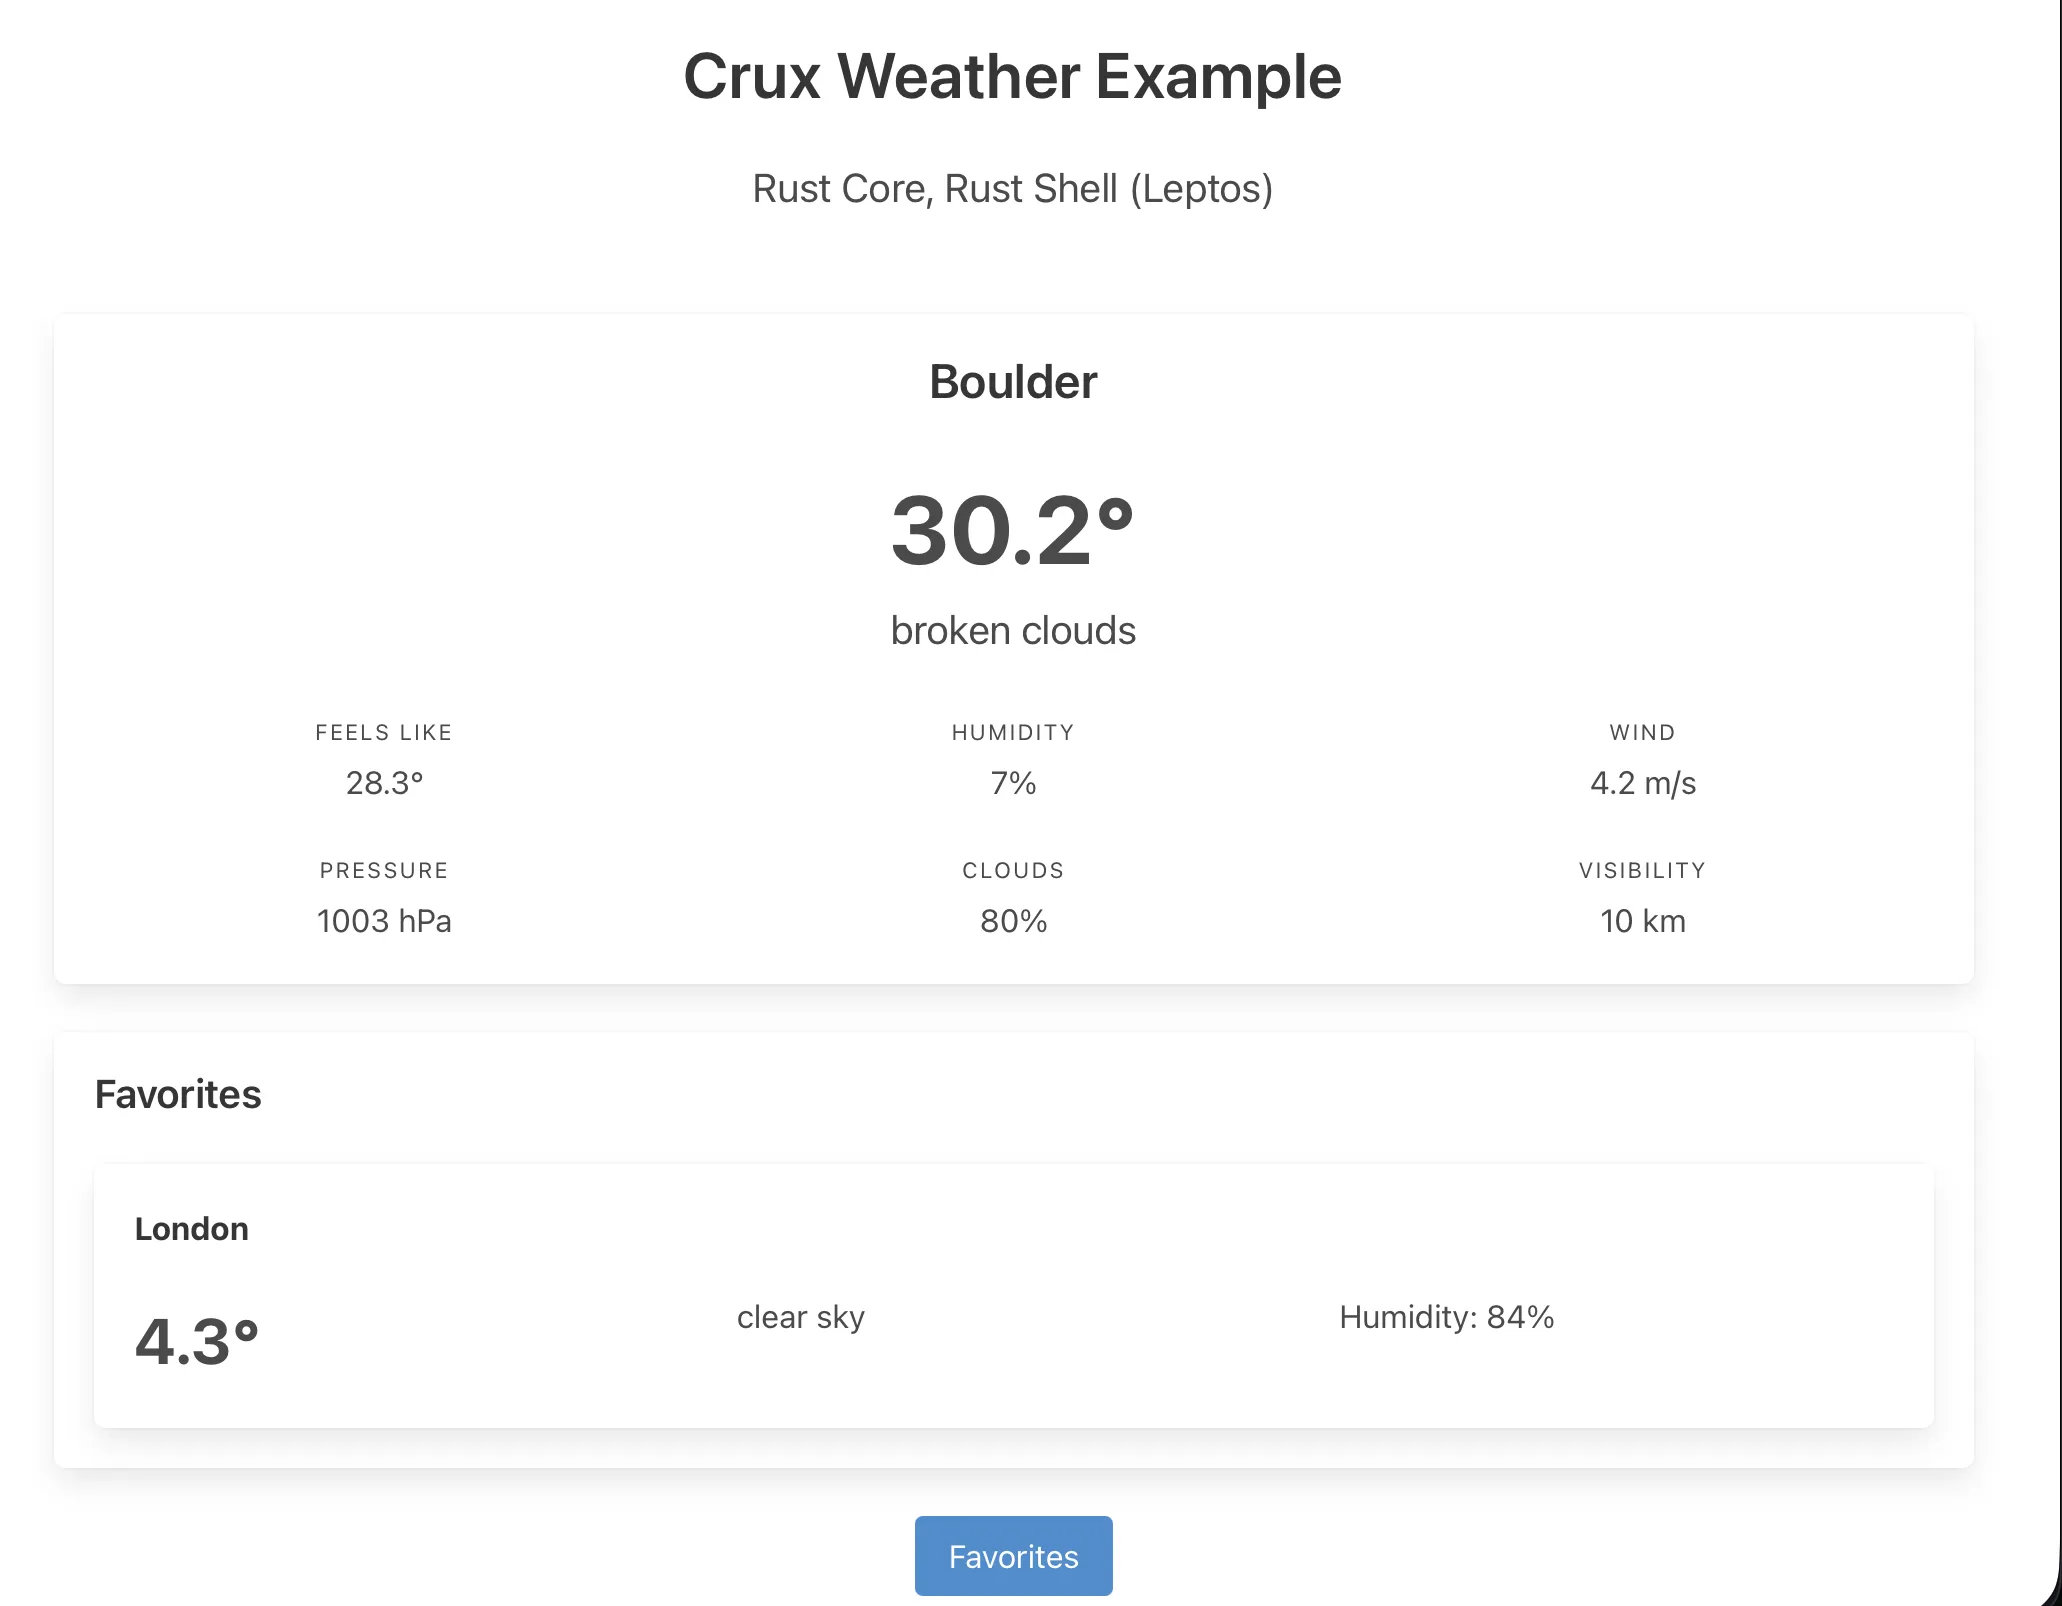
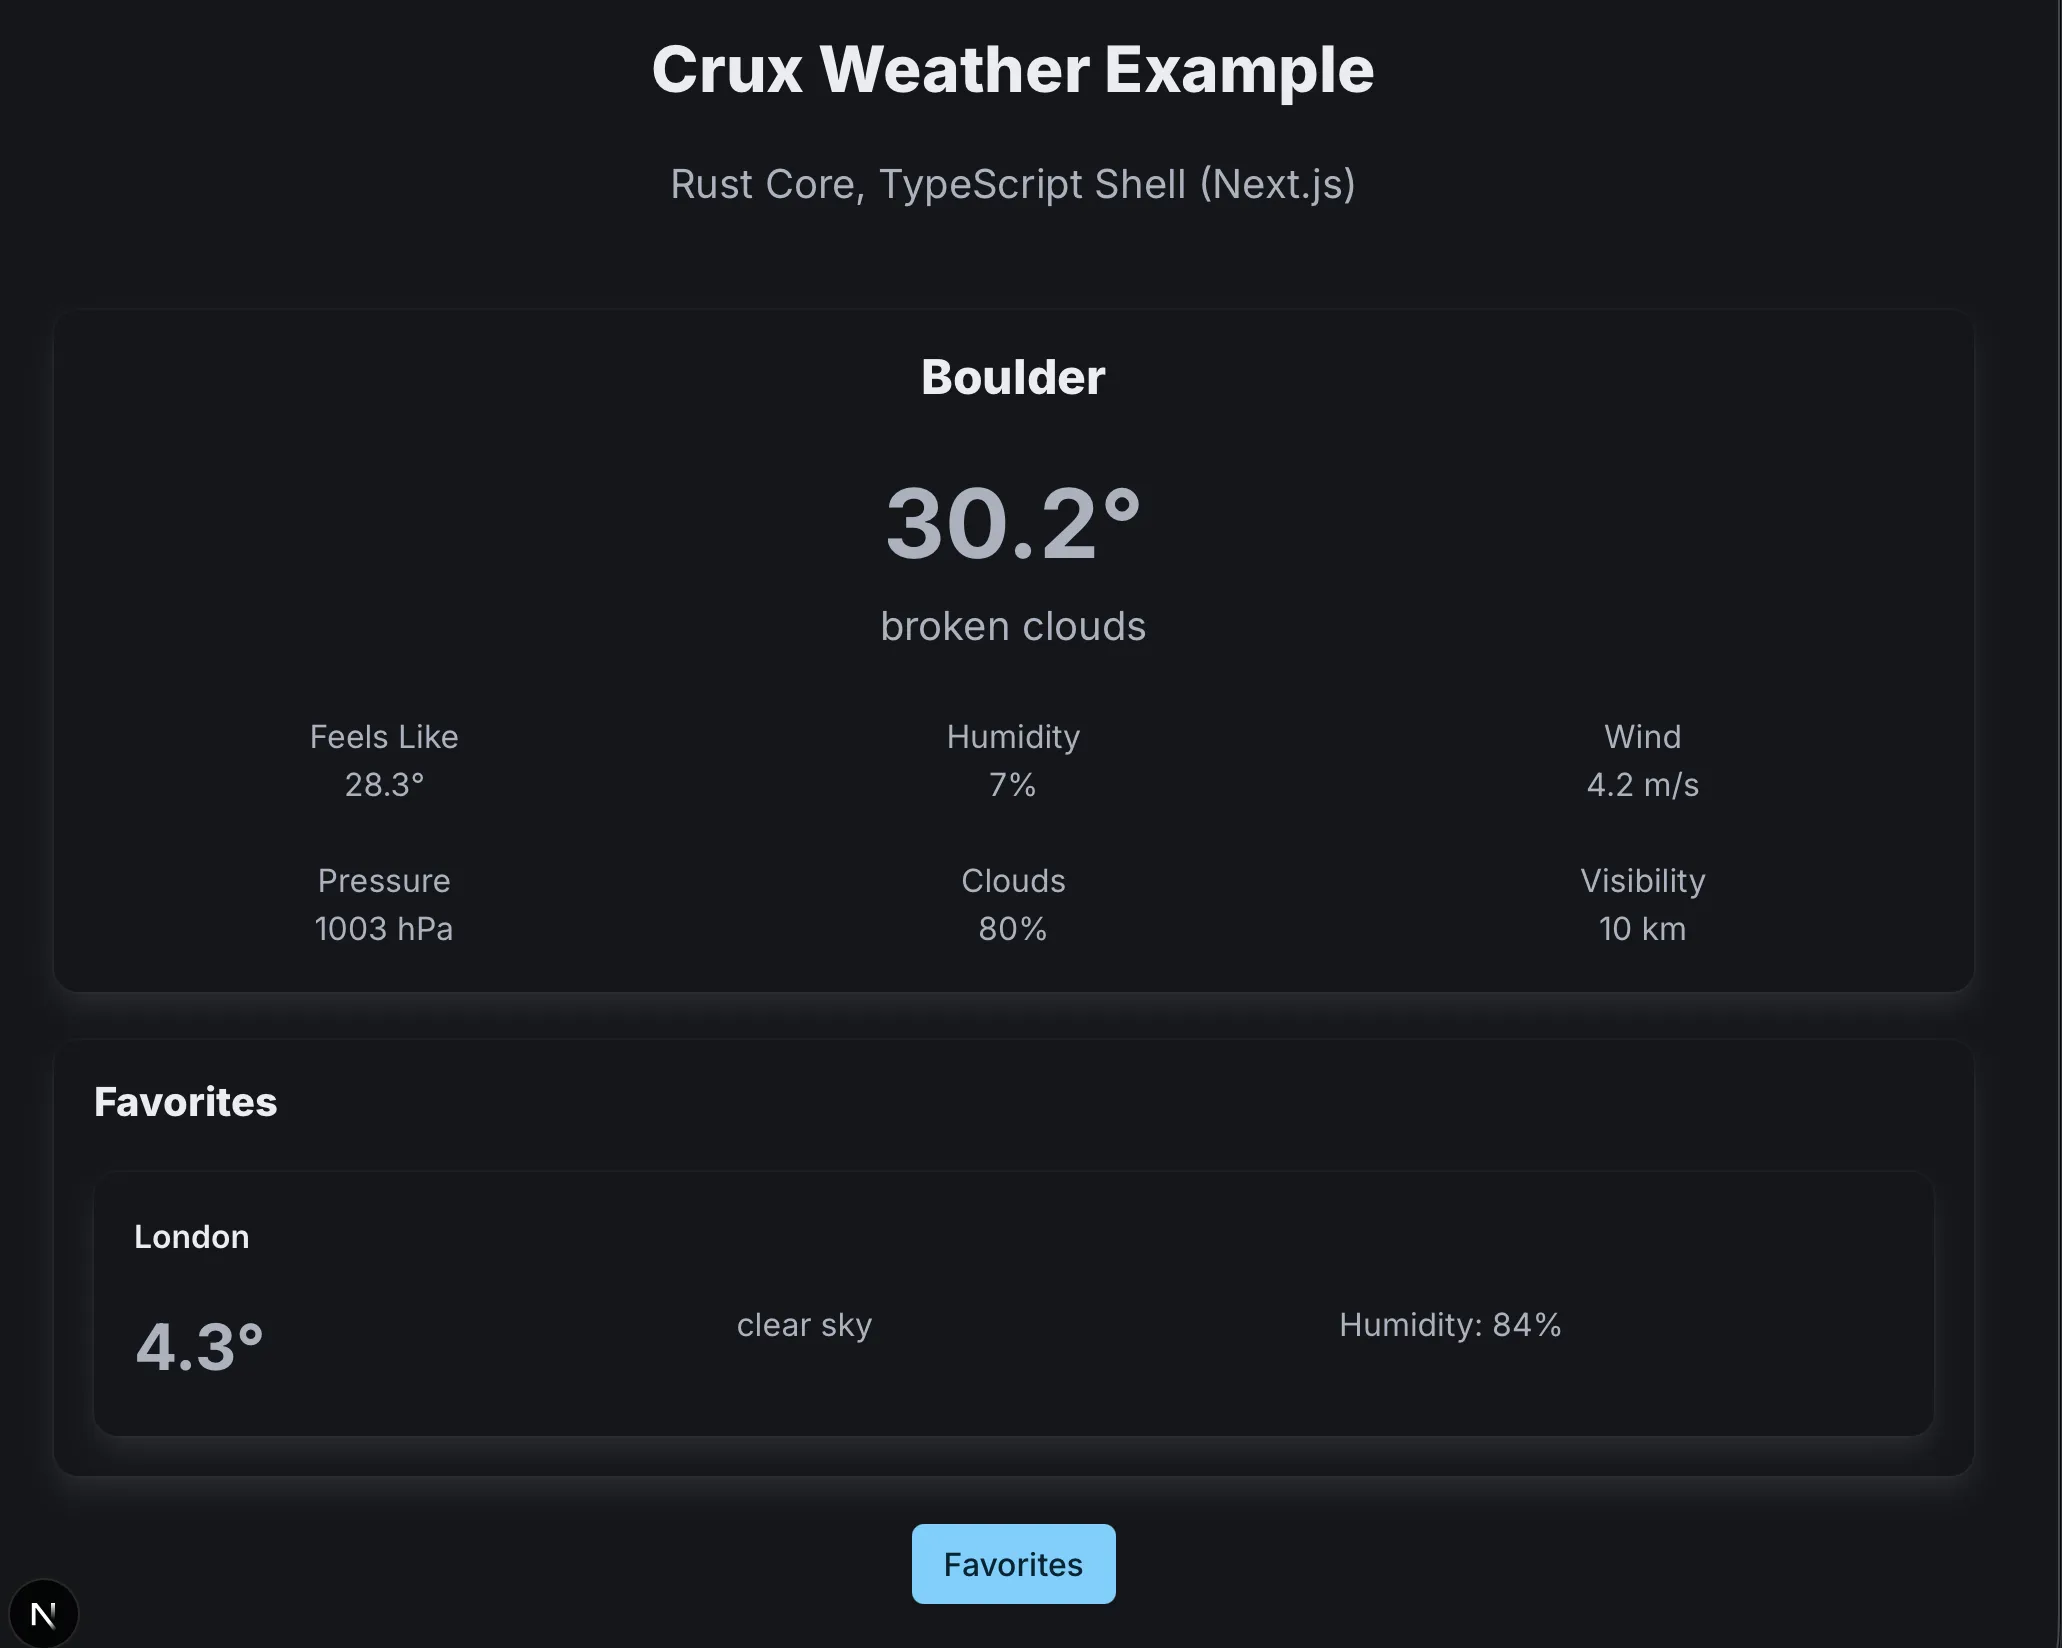
The app is a small weather client: local weather on the home screen, search for other locations, and a favourites list — all backed by a real API.
You can look at the full example code in the Crux GitHub repo, but we'll walk through the key parts. As before, we're going to start with the core and, once we have it, look at the shells.
The chapters that follow walk through the Weather app one concept at a time: lifecycle states, nested state machines, effects, testing, capabilities, and shells.
Before we dive in though, let's quickly establish some foundations about the app architecture Crux follows, known most widely as the Elm architecture, based on the language which popularised it.