Web - TypeScript and Svelte (SvelteKit)
These are the steps to set up and run a simple TypeScript Web app that calls into a shared core.
This walk-through assumes you have already added the shared and shared_types libraries to your repo,
as described in Shared core and types.
Create a Svelte App
Let's create a new project (using pnpm) which we'll call web-svelte:
pnpx sv create web-svelte
cd web-svelte
pnpm install
Compile our Rust shared library
When we build our app, we also want to compile the Rust core to WebAssembly so that it can be referenced from our code.
To do this, we'll use
wasm-pack, which you can
install like this:
# with homebrew
brew install wasm-pack

# or directly
curl https://rustwasm.github.io/wasm-pack/installer/init.sh -sSf | sh
Now that we have wasm-pack installed, we can test building our shared library
to WebAssembly for the browser.
pushd ../shared
wasm-pack build --target web
popd
Edit the package.json file and add the wasm:build script:
  "scripts": {
    "wasm:build": "cd ../shared && wasm-pack build --target web",
    "dev": "pnpm run wasm:build && vite dev",
    "build": "pnpm run wasm:build && vite build",
    "preview": "pnpm run wasm:build && vite preview",
  },
Also make sure to add the shared and shared_types as local dependencies to
the package.json, as well as the bincode package for serialization:
  "dependencies": {
    "shared": "file:../shared/pkg",
    "shared_types": "file:../shared_types/generated/typescript",
    "bincode": "file:../shared_types/generated/typescript/bincode",
  }
After our Wasm has been built, we'll need to load it into our app. There are
several ways to do this, but the simple_counter example uses the
vite-plugin-wasm-esm plugin.
pnpm add -D vite-plugin-wasm-esm
Now we have the plugin installed, we can configure Vite to use it to load our Wasm module.
// file: vite.config.ts
import wasm from 'vite-plugin-wasm-esm';
import { sveltekit } from '@sveltejs/kit/vite';
import { defineConfig } from 'vite';

export default defineConfig({
	plugins: [sveltekit(), wasm(['shared'])]
});
We are creating a Single Page Application (SPA) using Svelte, so we will need an adapter to build static files.
pnpm add -D @sveltejs/adapter-static
And we'll need to add a layout that indicates we don't need Server-Side Rendering (SSR).
// file: src/routes/+layout.js
export const ssr = false;
Finally, our Svelte configuration can be finished:
// file: svelte.config.js
import { vitePreprocess } from '@sveltejs/vite-plugin-svelte';
import adapter from '@sveltejs/adapter-static';

/** @type {import('@sveltejs/kit').Config} */
const config = {
	preprocess: vitePreprocess(),

	kit: {
		adapter: adapter({
			// default options are shown. On some platforms
			// these options are set automatically — see below
			pages: 'build',
			assets: 'build',
			fallback: undefined,
			precompress: false,
			strict: true
		})
	}
};

export default config;
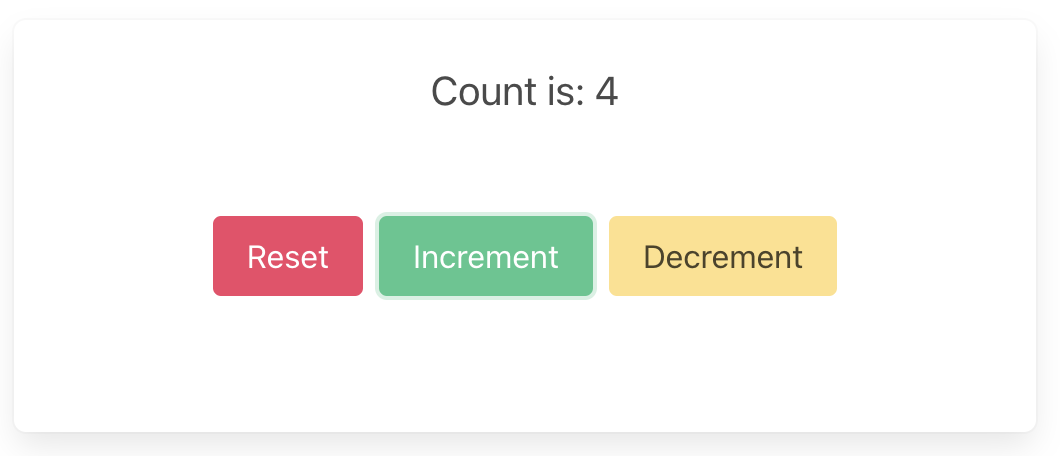
Create an app to render the UI
Let's add bulma for styling:
pnpm add bulma
Create a root page for our app at src/routes/+page.svelte:
<script lang="ts">
	import 'bulma/css/bulma.css';
	import { onMount } from 'svelte';
	import { update } from '$lib/core';
	import view from '$lib/core';
	import {
		EventVariantReset,
		EventVariantIncrement,
		EventVariantDecrement
	} from 'shared_types/types/shared_types';

	onMount(async () => {
		console.log('mount');
	});
</script>

<section class="box container has-text-centered m-5">
	<p class="is-size-5">{$view.count}</p>
	<div class="buttons section is-centered">
		<button class="button is-primary is-danger" on:click={() => update(new EventVariantReset())}>
			Reset
		</button>
		<button
			class="button is-primary is-success"
			on:click={() => update(new EventVariantIncrement())}
		>
			Increment
		</button>
		<button
			class="button is-primary is-warning"
			on:click={() => update(new EventVariantDecrement())}
		>
			Decrement
		</button>
	</div>
</section>
Wrap the core to support capabilities
Let's add a file src/lib/core.ts which will wrap our core and handle the
capabilities that we are using.
import { process_event, view } from 'shared';
import initCore from 'shared';
import { writable } from 'svelte/store';
import { EffectVariantRender, ViewModel, Request } from 'shared_types/types/shared_types';
import type { Effect, Event } from 'shared_types/types/shared_types';
import { BincodeSerializer, BincodeDeserializer } from 'shared_types/bincode/mod';

const { subscribe, set } = writable(new ViewModel('0'));

export async function update(event: Event) {
	console.log('event', event);
	await initCore();

	const serializer = new BincodeSerializer();
	event.serialize(serializer);

	const effects = process_event(serializer.getBytes());
	const requests = deserializeRequests(effects);
	for (const { id, effect } of requests) {
		processEffect(id, effect);
	}
}

function processEffect(_id: number, effect: Effect) {
	console.log('effect', effect);
	switch (effect.constructor) {
		case EffectVariantRender: {
			set(deserializeView(view()));
			break;
		}
	}
}

function deserializeRequests(bytes: Uint8Array): Request[] {
	const deserializer = new BincodeDeserializer(bytes);
	const len = deserializer.deserializeLen();
	const requests: Request[] = [];
	for (let i = 0; i < len; i++) {
		const request = Request.deserialize(deserializer);
		requests.push(request);
	}
	return requests;
}

function deserializeView(bytes: Uint8Array): ViewModel {
	return ViewModel.deserialize(new BincodeDeserializer(bytes));
}

export default {
	subscribe
};
This code sends our (UI-generated) events to the core, and handles any effects
that the core asks for via the update() function. Notice that we are creating
a store to update and manage the view
model. Whenever update() gets called to send an event to the core, we are
fetching the updated view model via view() and are updating the value in the
store. Svelte components can import and use the store values.
Notice that we have to serialize and deserialize the data that we pass between the core and the shell. This is because the core is running in a separate WebAssembly instance, and so we can't just pass the data directly.
Build and serve our app
We can build our app, and serve it for the browser, in one simple step.
pnpm dev --open